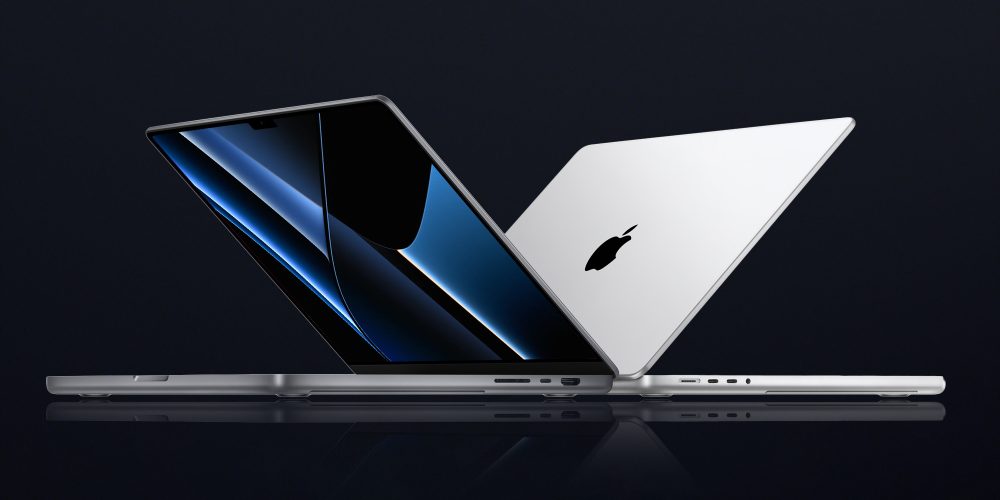
In the following article we are talking about how to screenshot on MacBook 2022, so to learn how to do it. Read the full article. You should have the following ways which are given in this article and know how to take screenshots depending on which Apple product do you have. MacBook Pro, MacBook Air, or iMac.
If you want to save what is there on your Mac display, whether that is reservations to an event or an email you just received from somebody. Or just a photo of your desktop, and understanding how to take screenshots is a thing you must know.
If you have a MacBook, then the following are the ways to take a screenshot on MacBook 2022 using this keyboard keys combination. And if you have a MacBook with a touch bar on it. Then there is one more way to take a screenshot. We will teach you many keyboard shortcuts. You will have to take a screenshot of it on your Mac in this article. We will also take you through what you can do and learn with those screenshots once they have been taken by you. Apple gives you a number of ways for quickly saving, deleting, and opening a screenshot.
So Following Are the Ways, How To Screenshot on Mac Book:
1. Take Screenshot Using Command-Shift-3
This combination of keys will take a screenshot of the full screen or full display.
2. Take Screenshot Using Shift-Command-4
This combination of keys will change your pointer into an aiming pointer, which you can drag to pick a portion of your screen and can capture. To capture the screenshot, release the button on the mouse or trackpad.
After using combination Shift-Command-4, you have a few other options:
When you press and hold the space bar on the keyboard, the crosshair changes into a small camera icon that you will be able to drag over every open window on the display. To take a screenshot on your display screen of any window, then simply click on it. This method takes a screenshot with a white border all around the window of your display and a slight drops shadow.
Also Read: How to Make Rar to Pdf | Rar Converter
Some detail
Then select to indicate an area you want to take screenshot on MacBook 2022 of but before you release the button on the mouse or trackpad. Then press and hold the space bar to continue taking a screenshot. This sets the selected area shape and size but allows you to move it around on the display of your screen. Then simply use the space bar to correct it before you drop the mouse button to take a screenshot.
Hold the Shift key after dragging the mouse or trackpad to specify the area but before you release the side button. This will select on both the left and right sides of the display on the screen. The selected area is covered with the crosshairs except for the bottom edge. Allows you to move your mouse’s cursor up and down to position the bottom border.
Release the Shift key and press this combination on the keyboard without releasing the mouse button to adjust the right border of your selected area. By using the Shift key while keeping the mouse button or touchscreen already pressed. You can also switch between moving the bottom and right edge.’
Also Read: Best Dating Apps for iPhone 2022 | Dating Apps in 2022
3. Take Screenshot Using Sift-Command-5
This combination of keys on the keyboard brings a panel to the bottom of the display screen. With the options of screen capture, which was introduced in macOS Mojave in 2018. You can also take a screenshot of your complete screen. A window, or a portion of your screen using one of these three buttons.
On the right side of the screen is an Options button. You can save your screenshot to the Desktop, Documents, Clipboard, Mail, Messages, Preview, or Other Location. As well as add a 5- or 10-second delay to allow you to line up items that would otherwise be lost when using your snapshot tool.
The Show Floating Thumbnail option is selected by default, which displays a small preview. Thumbnail of your recently captured screenshot in the lower-right corner of your screen, similar to how iOS handles screenshots. On your Mac, unlike the iPhone ($899 at Amazon), you can disable the preview thumbnail. Finally, you have the option of including your mouse pointer in a snapshot or video.
4.Take Screenshot Using Command-Shift-6
Did you know that if you have a 16-inch MacBook Pro or any model with the Touch Bar, you can capture a screenshot of what’s now displayed on it? To snap an extremely broad and skinny screenshot of your Touch Bar, simply press Command-Shift-6.
If you use the Floating Thumbnail, you’ll be able to use Markup tools to annotate your screenshot quickly. You can swipe away the Floating Thumbnail or let it go on its own, and it will be stored at the location where you last saved a snapshot. When you click the Floating Thumbnail. It will open in a Markup View preview window (rather than Preview). With all of the markup tools available in Preview.
Also Read: How To Whisper in Valorant | Complete Details
Long-time Mac screenshots may be sluggish to adopt the new Command-Shift-5 shortcut. But I find myself utilizing it more for the ability to annotate screenshots without opening. Preview and rapidly delete screenshots that I know I made a mistake with. The 5-second and 10-second delay settings are also welcome additions.
So in this, you get to know about how to screenshot on MacBook. And if you like the article then do share and comment.


1 Comment