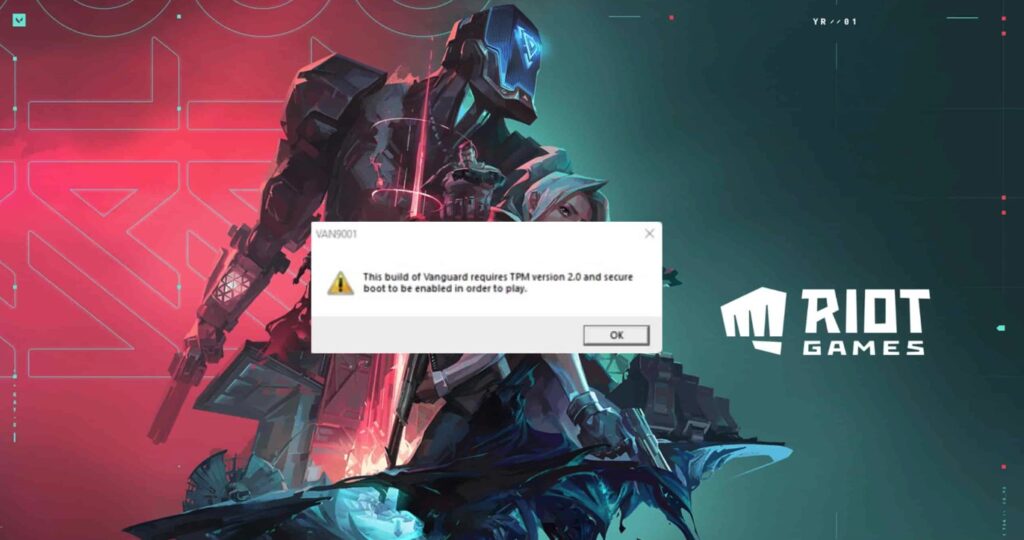
In these essay we are going to talk about all the problems on Valorant Tpm 2.0 Error Windows 11. So to know how to fix this Valorant Tpm 2.0 Error in Windows 11, do read the full article.
Are you having trouble with the TPM 2.0 problem in Valorant on Windows 11? We’ll look at the issue that several Valorant players on Windows 11 are having in this article. According to reports, Valorant gamers running Windows 11 may see an error message stating that TPM 2.0 and secure boot must be enabled.
To resolve this issue, players must enable TPM 2.0 and secure boot, which is exactly what the error message instructs us to do! To begin, double-check that your TPM version is 2.0 and that it is enabled. Continue reading to learn how.
Also Read: Top 10 Guns in BGMI 2022 – To Win the Game
When trying to open the game on Windows 11, I get the Valorant TPM 2.0 problem. Don’t worry, we’ll show you how to resolve the TPM 2.0 issue.
“Vanguard,” Riot’s anti-cheat programme, is largely viewed as one of the best in the industry. The kernel is the first part of Vanguard’s function, and it starts as soon as your system boots up. The second component is the client, which keeps track of the game and looks for cheaters.
TPM 2.0, a new security layer, was incorporated with the release of Windows 11. This is also required in order to play “Valorant.” So let’s look at TPM and how to resolve the Valorant TPM 2.0 problem.
What exactly is TPM?
TPMs (Trusted Platform Modules) are cryptographic modules that increase a computer’s security and privacy. To keep the system secure, TPM employs encryption and decryption.
TPM 2.0 chips are found in the majority of PCs and systems purchased in the last five years. You’ll need the TPM 2.0 chip if you want to upgrade to Windows 11. Because it is a crucial component of all security-related aspects.
Some Windows 11 software requires an active TMP to work properly. Not all applications, however, necessitate this.
The Valorant TPM 2.0 Error and How to Fix It?
Go into the BIOS settings and activate TPM 2.0 to fix the problem. Simply follow the instructions indicated below to do so. So following are some on point and easy steps to fix valorant tpm 2.0 error in windows 11.
1: Select “Settings > Update & Security > Recovery > Restart immediately” from the BIOS menu in the game.
2: To make the adjustments, select “Troubleshoot > Advanced options > UEFI Firmware Settings > Restart” from the following screen.
3: To enable the TPM, go to “Security Device, Security Hardware Support, TPM State, AMD fTPM switch, AMD PSP fTPM, Intel PTT, or Intel System Trust Technology” and select “Security Device, Security Support For multiple, TPM State, AMD fTPM switch, AMD PSP fTPM, Tech PTT, or Intel Platform Believe Technology” from “Security Device, Security Hardware Support, TPM State, AMD fTPM switch.
4: Press “Windows key + r” once you’ve enabled the TPM and opened your desktop window.
5: Click OK after typing “tpm.msc” (without the quotation marks).
There should be a status that says “The TPM is ready for usage” there.
So above were some easy steps to fix Valorant Tpm 2.0 Error in Windows 11. Hope now you can solve the error and enjoy the game. For more articles like this, stay connected with us.

